Installation & Setup
Let’s run through the first-time step process.
System Requirements:
- ExpressionEngine 6 and its minimum system requirements (specifically cURL).
- PHP +8.0 and MySQL +5.7.
- Mux account.
- Mux.com must be able to reach your EE install (more below) to send webhook events.
Also there are default config options that can be adjusted before install. Some advanced options are only available in the config. Once installed, default config options can be changed in the file, and then the settings must be re-saved to commit.
Install Checklist
Getting started has a few steps. Here is the short list, with more details below:
- Install the Module. Copy over both System and Themes folders.
- Copy Mux API keys to EE.
- Copy EE Webhook into Mux.
- For live streams, check the custom live field is linked in Settings.
- Add Asset/Live fields to channels.
1. Creating Mux Access Tokens
Tokens can be enabled for Video, Data, and System. It is recommended to create one key with all the services enabled to make setup easy.
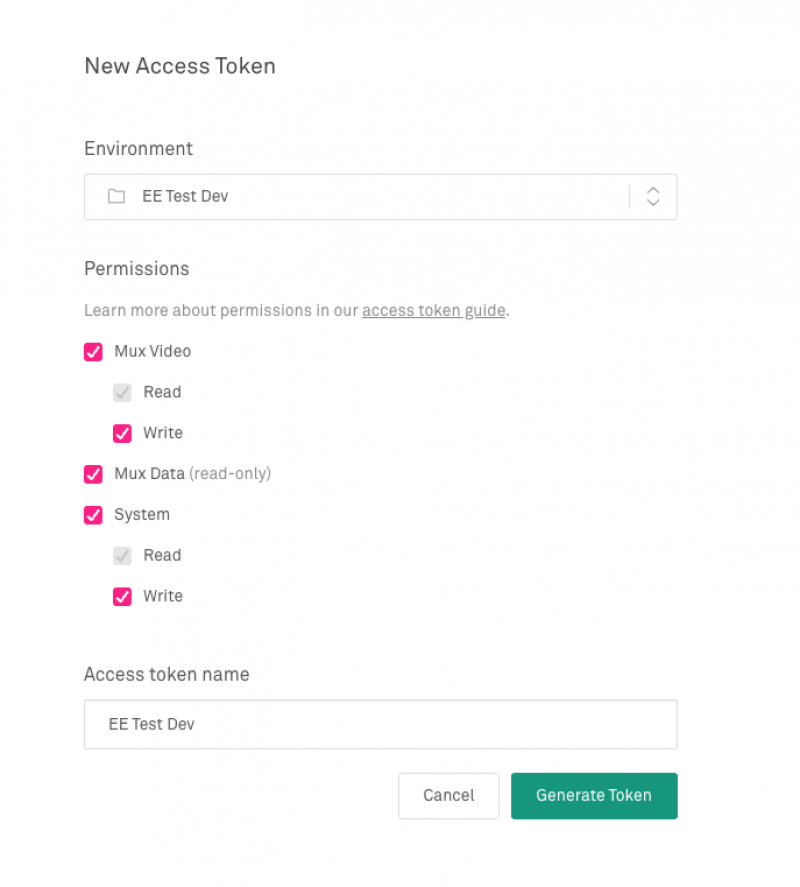
Once created, copy and paste the key and secret to the add-on in Configuration->Environment.
2. Copy EE Webhook into Mux
In Settings->End Points, copy the Mux Webhook url and paste it into the Mux dashboard. A walkthrough is provided below.
What is a webhook and why use them?
When events happen in Mux, data is sent from Mux to the EE site. We call these webhooks. For example, when a live stream receives a feed from an encoder, a request is sent from Mux to EE to signal that the encoder is connected, then another that the stream is active, then another that it disconnected. This is a more efficient process than EE constantly polling a URL to check for changes.
For this to work, Mux.com must be able to reach the module (your EE site). Locations like localhost and development servers behind firewalls may not work without some advanced network configuration. The module will warn when data is from Mux directly instead of from a stored webhook, and there will be greatly reduced functionality.
In addition, webhooks are sent when any video update happens, including events triggered from outside ExpressionEngine. Should you add or delete videos using the API directly, or in the Mux Dashboard, updates will be sent to ExpressionEngine. This is per-environment, so it is best to use different development environments if you want to keep changes isolated.
The add-on is able to sync data manually per video or through a global sync feature, but is intended for development or fixing issues.
More information here: https://docs.mux.com/guides/video/listen-for-webhooks
There are a few webhook proxy services to forward events to local development. One simple free example is https://smee.io/
1. Get URLHead to Add-on Settings -> End Points. Copy Mux Webhook URL. |
 |
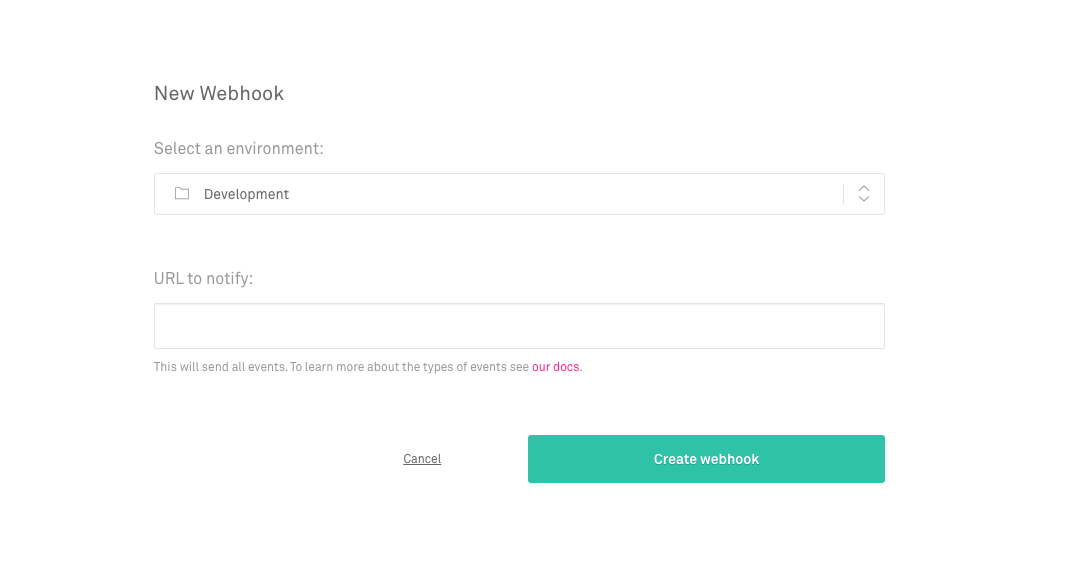
2. Mux Webhook PageFind the Mux Webhook page in their control panel. |
 |
3. Create a new WebhookCopy and paste the URL with your website into their URL field, and in the desired environment. |
 |
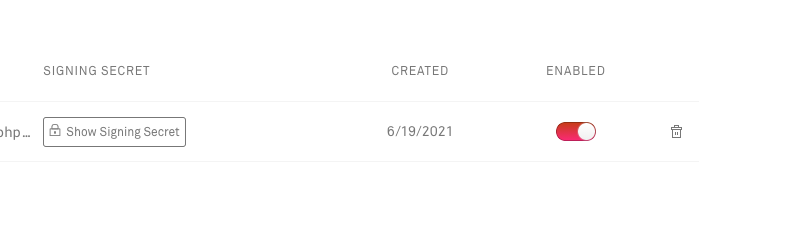
4. Enable ItVerify the webhook is enabled. |
 |
Select the EE Live Stream Field in Settings (Optional)
When the module is installed, asset and live stream fields are automatically created for convenience. The fields can be added to a channel for use.
Multiple asset fields can be created at any time. However currently only one live stream field can be in use. The field can be used in multiple channels and entries, but only one instance of that field will work correctly at a time. Specifically one field ID. If you have a complex need for multiple live fields, please get in touch!
To disable the automatic field creation on install, change the /config/default.php file settings to false for these fields.
1. Verify Live FieldThe module should automatically install this field. If not, simply create one. |
 |
2. Link Field in SettingsIn the Add-on Settings, select the live field. The module should automatically do this on install. |
 |
3. Add Field to ChannelSimply add the custom field to a channel, tweak the channel layouts...etc. It is recommended to put the field in its own tab due to the large height of the field. |
 |